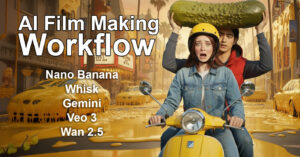
Introduction
Hi everyone, I’m Sam Yousefian, an AI film maker and animator for 15+ years. I have been working with AI Image and AI Video for as long as they’ve been around. You can check out some of our TADApix AI videos here. I have picked up a few new tricks and I’d love to share them with you here.
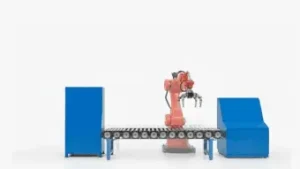
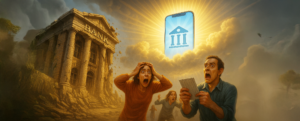
Recently I made a short film for an AI film competition called Weaponized Sentient Cheeseburger. It features a monstrous cheeseburger that’s come to life and is destroying Los Angeles. This film features multiple actors that speak with each other and interact with multiple moving parts. This is something that I haven’t seen much of in AI films so I wanted to see if it could be done. I learned a ton from this exercise and I hope you get something from it too.
Action Scene Choreography – Nano Banana
What I wanted to do with this short film was to see if I can get coverage around multiple speaking actors and moving parts and choreograph an action scene. Surprisingly, the action scenes were pretty easy to put together thanks to a few tools that are now available for AI artists.
I’m sure you’ve heard by now about Nanobanana. There’s a lot of talk about competitors like Seedance 4 but Nanobanana does the best job with keeping a character looking like the original reference. This allows you to put your characters in a scene and create the starting frame of the shot.
The Workflow
Step 1 – Create the Characters
To start, I created characters in MidJourney. My prompt asks for a character design sheet with face on the left side and body on the right.
This was my prompt in MidJourney:
Real photo of a real human actor character design sheet. Photo real. One close up Face on left. one full body on right. An 18 year old Iranian male, wearing orange puffer vest, blue jeans, black converse shoes. He has medium length hair and a unibrow.
This was one of the results. I like the character, but what I got from MidJourney was half face, half illustration. No problem, we will go to photoshop to fix. You’ll see that this will be a recurring theme. If you get something that is part GREAT, keep that part and fix the rest in photoshop.
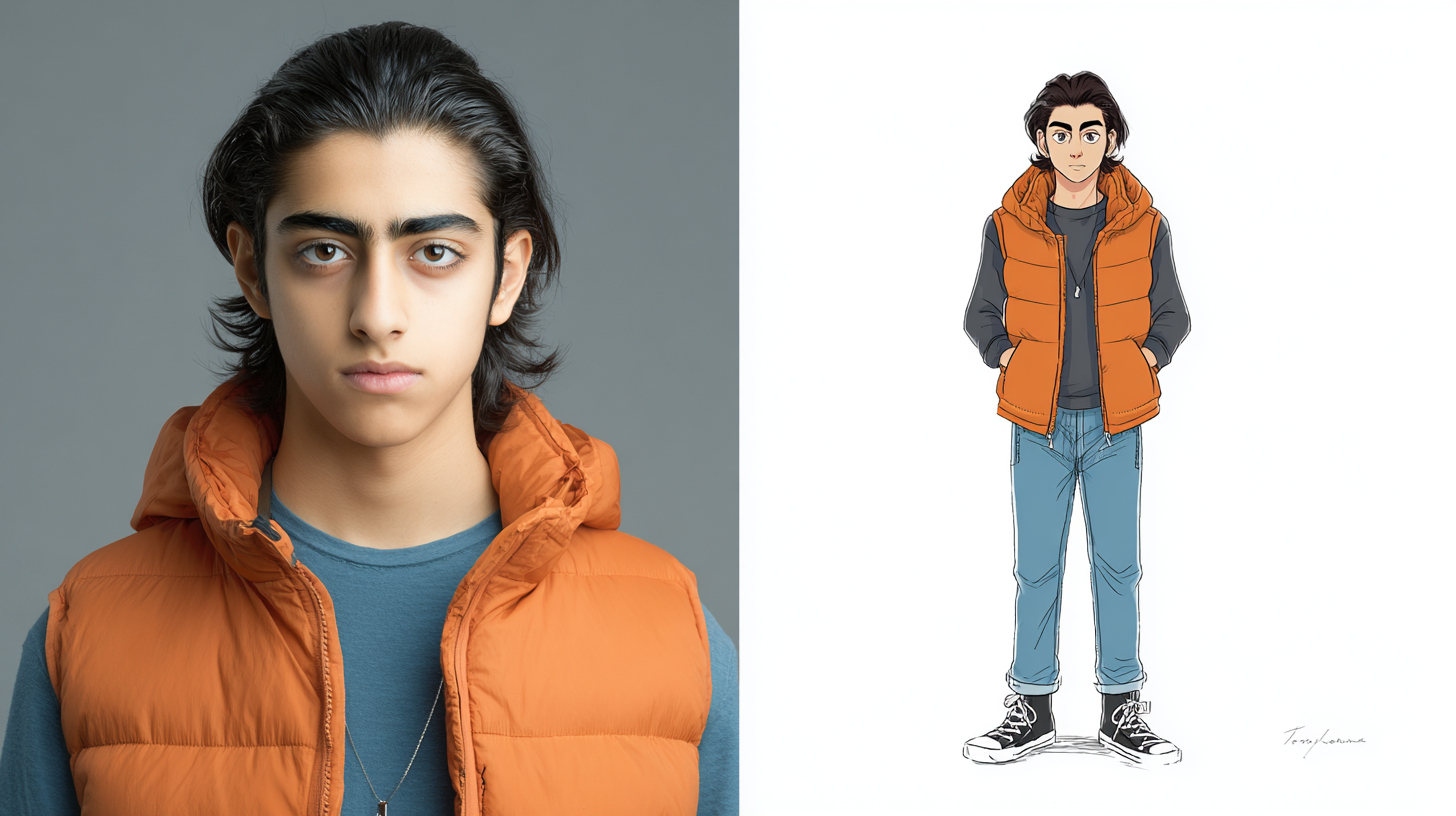
I took this into Photoshop Beta and used the new nanobanana tool to convert the drawing to a real human, then adjusted the color of the jacket and was ready.
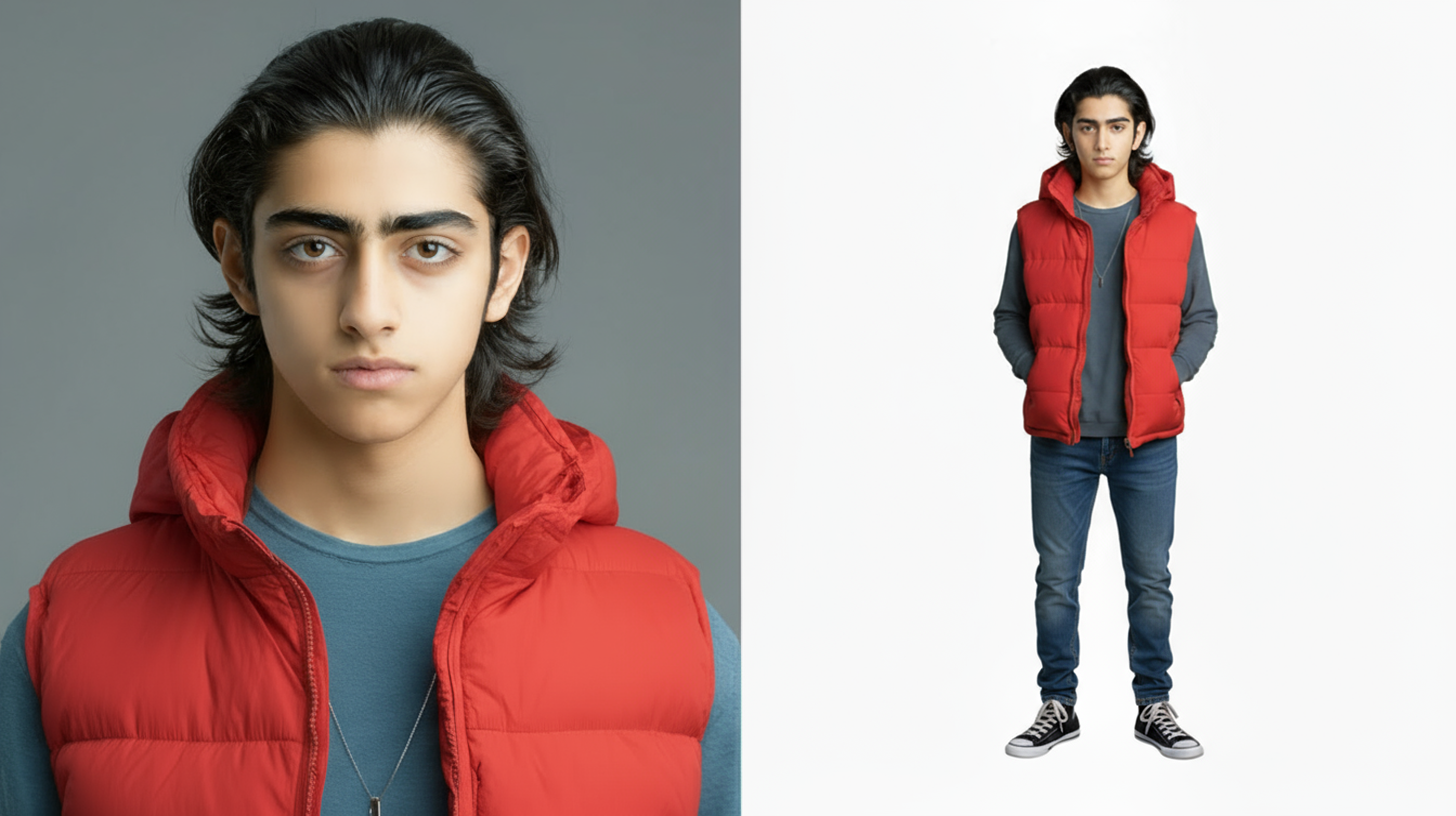
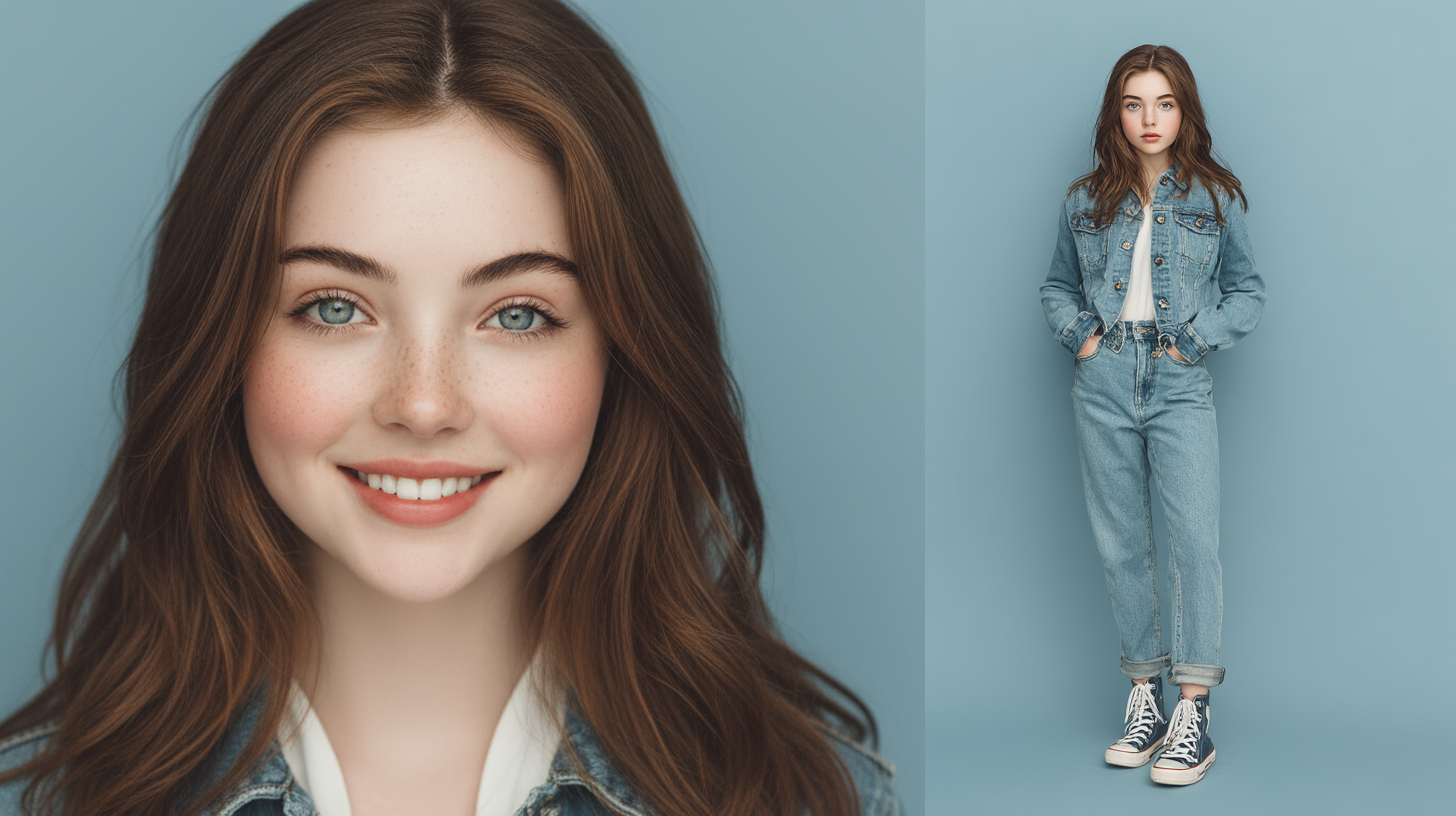
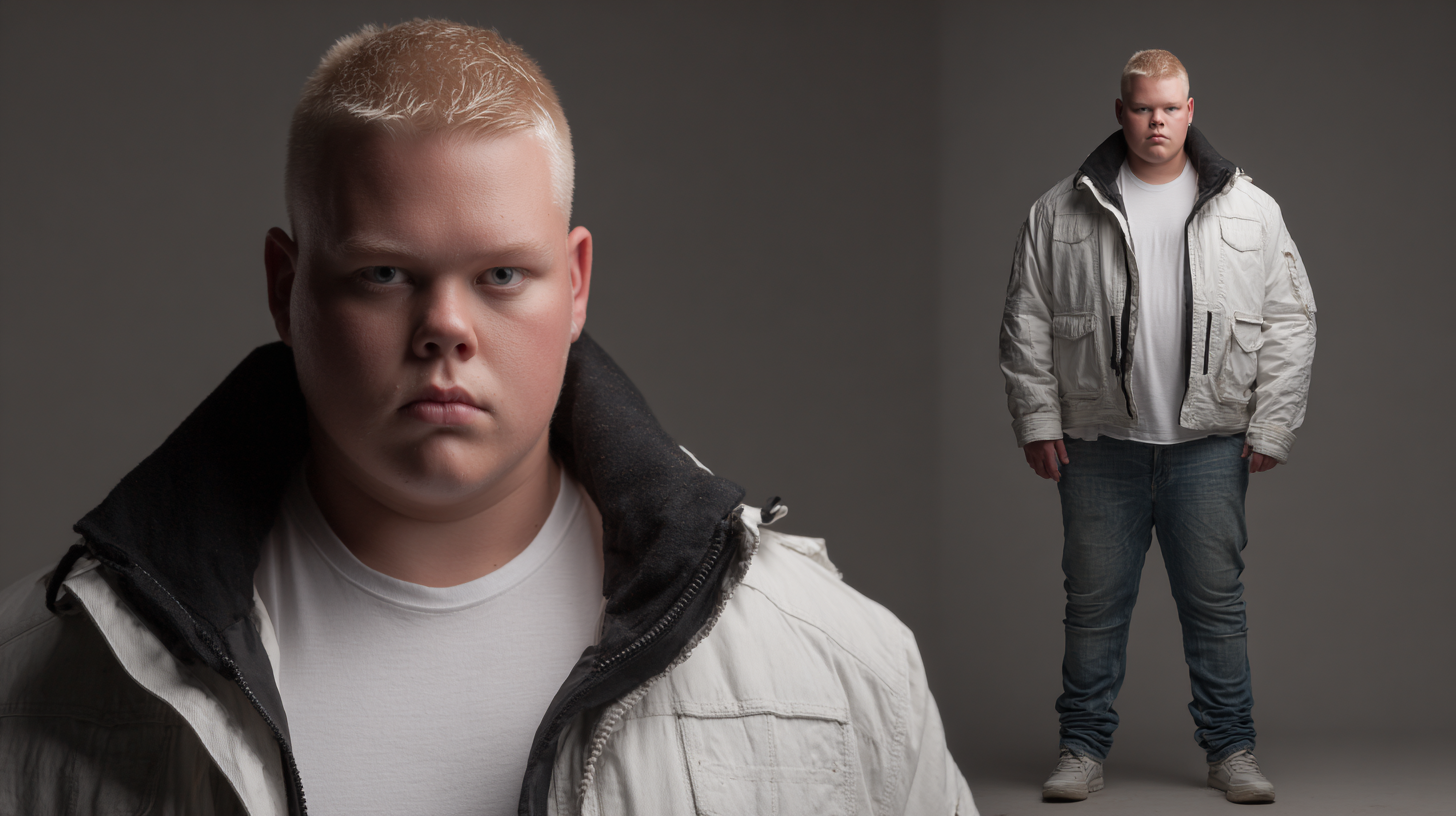
I generated character sheets for all the other actors. Some of them come out a little young, but that’s okay. Nanobanana seems to add 5-10 years of age to everyone.
Okay now we get to have some fun! We can use Nano Banana in Gemini, or in Whisk. Whisk below has little boxes with “Subject” and “Scene” for you to drop references in. I find that you still have to call out what you want it to do with each image just as you would in Gemini. Here’s a demo below. I like Whisk because it doesn’t seem to degrade the image quality after a few adjustments.
Gemini with Nanobanana on the other hand seems to compress and recompress in jpg and so after a few adjustments you have some real garbage. Also, you have to end a chat, copy the image and start a new chat sometimes. Below is workflow in Gemini. You can see I couldn’t get it to change the size of the pickle. It’s an easy fix in Photoshop so I didn’t want to keep messing with it and exported.
Taking Gemini output to Photoshop is a necessary thing always because you have to remove that dumb gemini diamond on the bottom right. But in this case, I’m going to manually fix the size of the pickle because trying to prompt that might take forever and destroy the image quality.
Below is a video showing me remove the star and shrinking the pickle.
And here are some videos that I made with these examples.
As you can see, both Gemini and Whisk gave me assets I could work with.
There’s a lot of problems to fix but for this demo I didn’t bother. I think Ali’s face has changed a lot and needs to be replaced with the one from the original character sheet.
Harmonize in Photoshop
I forgot to mention how important this tool is in Photoshop. This little button make so many things possible. Basically you can bring in a character, remove the background, then put the character in a new environment and hit “Harmonize” and voila, it looks like it belongs in there.
TLDR
If you’re down here and you don’t want to read all that stuff above, feel free to watch the video down below 🙂
Thanks for watching or reading 😀
Sam Yousefian